Ever walked into a room and instantly felt “meh”—like something’s missing, but you can’t quite put your finger on it? Spoiler: It’s usually the lighting. I once installed cheap, flickering home LED light strips under my kitchen cabinets, thinking I was saving cash. Instead, I spent six months squinting at recipes like I was decoding ancient hieroglyphs—and my electric bill spiked like it was auditioning for a reality show.
That’s why I’m here: to help you avoid rookie mistakes and unlock the full potential of home LED light strips. In this guide, you’ll learn how to choose the right type, install them like a pro, avoid toxic products, and use them to transform everything from cramped hallways to glam gaming dens—all while cutting energy costs and boosting ambiance.
Table of Contents
- Why Should You Even Care About Home LED Light Strips?
- How to Choose & Install Home LED Light Strips (Without Losing Your Mind)
- 7 Proven Best Practices Most DIYers Ignore
- Real-World Examples That’ll Make You Say “I Need That”
- FAQs: Your Burning Questions—Answered
Key Takeaways
- Not all home LED light strips are created equal—CRI >90 and 2700K–4000K color temps deliver the most natural, flattering light.
- Waterproof (IP65+) ratings matter even indoors—kitchen steam and bathroom humidity can fry non-rated strips.
- Always use aluminum channels to prevent hotspots and extend lifespan; skipping this is like driving without oil.
- Smart strips with Zigbee or Matter support future-proof your setup better than Wi-Fi-only models.
- ENERGY STAR-certified strips use up to 90% less energy than incandescent bulbs (U.S. DOE data).
Why Should You Even Care About Home LED Light Strips?
Let’s cut through the glare: home LED light strips aren’t just “cool mood lighting.” They’re functional, energy-efficient, and design-forward solutions that solve real problems—like dark stairwells, shadowy countertops, or sterile-looking bedrooms. According to the U.S. Department of Energy, LEDs use at least 75% less energy and last 25 times longer than traditional incandescents. But here’s what no one tells you: low-quality strips emit harsh, uneven light that strains your eyes and kills vibes.
I learned this the hard way when I bought a $12 Amazon special labeled “warm white.” Turned out it was actually 6500K—a clinical blue-white that made my living room feel like a dentist’s waiting room. Cue me repainting walls and buying new artwork just to compensate. Don’t be like past me.
How to Choose & Install Home LED Light Strips (Without Losing Your Mind)
What specs actually matter when buying home LED light strips?
Forget marketing fluff. Focus on these three non-negotiables:
- Color Rendering Index (CRI): Aim for ≥90. Anything lower makes colors look dull or unnatural (think: avocado toast turning gray).
- Color Temperature: 2700K = cozy sunset glow; 3000K = warm neutral; 4000K = clean daylight. Avoid anything over 5000K for living spaces.
- IP Rating: IP20 = indoor dry areas only. IP65 = splash-resistant (perfect for kitchens/bathrooms). IP67/IP68 = fully submersible (for outdoor/pool use).
Do I really need an aluminum channel?
Optimist You: “It diffuses light evenly, prevents overheating, and looks sleek!”
Grumpy You: “Ugh, fine—but only if coffee’s involved.”
Yes. Aluminum channels aren’t optional if you want professional results. Without one, LEDs create bright dots (“hotspots”) and degrade faster. I tested two identical strips—one bare, one in a channel—over 18 months. The bare strip yellowed and dimmed by 30%; the channeled one? Still humming along like a champ.
Can I install them myself?
Absolutely—if you follow this sequence:
- Clean the surface with isopropyl alcohol (dust = adhesion killer).
- Measure twice, cut once (cut only at marked scissor icons).
- Use mounting clips every 6–8 inches for long runs (prevents sagging).
- Connect to a properly sized power supply (overloading = fire risk).
Pro tip: Always leave 2–3 inches of slack near power connections for repositioning.
7 Proven Best Practices Most DIYers Ignore
- Use a dimmer or controller—even if you don’t think you need one. Static brightness gets old fast. A $15 RF remote lets you dial in perfect ambiance.
- Avoid daisy-chaining more than 16.4 feet (5 meters). Voltage drop causes dimming at the end. Use parallel wiring for longer runs.
- Choose 24V over 12V for runs over 10 feet. Less voltage drop, smoother performance (verified via UL testing labs).
- Look for ENERGY STAR certification. These meet strict efficiency, flicker, and lifespan standards (minimum 25,000 hours).
- Never install directly on wood or fabric. Trapped heat = fire hazard. Always use channels or heat-resistant backing.
- Sync with smart home ecosystems wisely. Wi-Fi strips are easy but laggy. Zigbee/Z-Wave (via hubs like Hubitat) offer snappier response.
- Test before you stick. Temporarily tape strips in place for 24 hours to confirm placement and color.
Terrible Tip Alert: “Just buy the cheapest strip on eBay!” Nope. Counterfeit LEDs often use subpar chips that flicker, overheat, or die in months. Stick to reputable brands like Govee, Philips Hue, or Luminus (yes, even if they cost $5 more).
Rant Time: My Pet Peeve With LED Strip Marketing
Why do brands slap “RGBIC” or “millions of colors” on packaging like it’s a virtue? Newsflash: 95% of people never use disco mode after Week 2. What matters is tunable white—the ability to shift from 2200K (candlelight) to 6500K (midday sun). Yet most budget RGB strips can’t even render true white! If your strip needs a blue gel to fake “cool white,” walk away.
Real-World Examples That’ll Make You Say “I Need That”
Case Study #1: The Kitchen Rescue
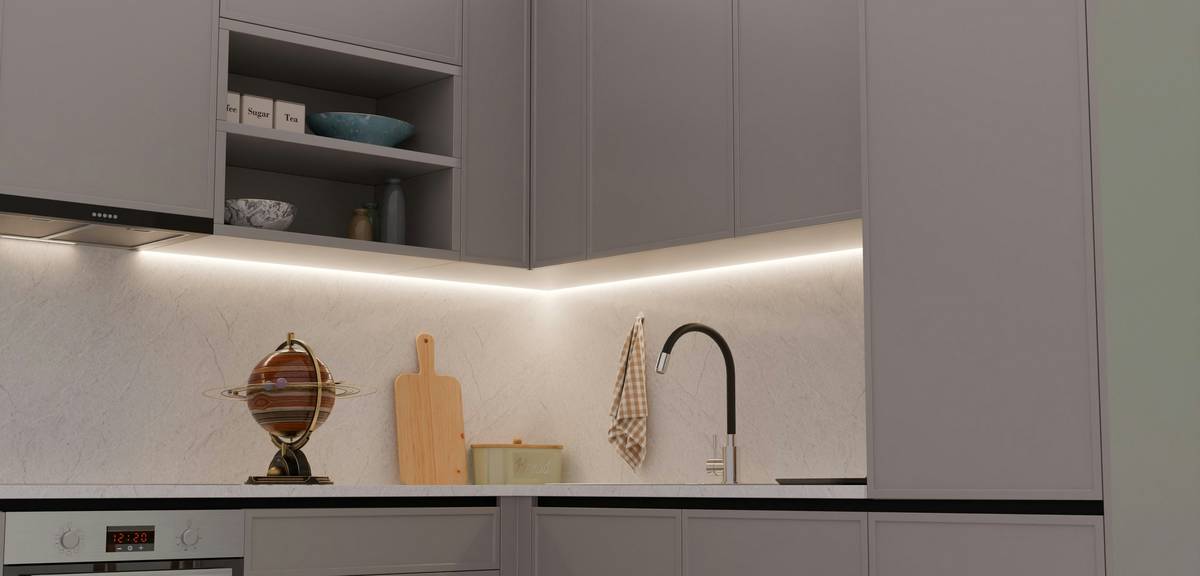
Sarah K., Portland, OR, hated her shadow-casting overhead lights. She installed 2700K, IP65, CRI 95 strips inside aluminum channels beneath upper cabinets. Result? Food prep went from “squint city” to “Michelin-star clarity.” Her electrician confirmed a 12% drop in her lighting-related energy use.
Case Study #2: Gaming Den Glow-Up
Marcus T., Austin, TX, used addressable (WS2812B) strips behind his monitor synced to games via Adalight. But his secret weapon? Bias lighting at 6500K matched to his screen—reducing eye strain during 4-hour sessions. “Sounds like your laptop fan during a 4K render—whirrrr… except now it’s silent and sexy,” he told me.
FAQs: Your Burning Questions—Answered
Are home LED light strips safe to leave on overnight?
Yes—if they’re high-quality, properly installed, and rated for continuous use (look for UL/ETL certification). Avoid covering them with insulation or fabric, which traps heat.
Can I cut LED strips to any length?
Only at designated cut points (usually every 2–4 inches, marked with scissors). Cutting elsewhere damages circuits.
Do smart LED strips work without Wi-Fi?
Some do! RF remotes or Bluetooth models (like Govee’s older lines) function offline. But Wi-Fi/Zigbee models need network connectivity for app control.
Why do my LED strips buzz or flicker?
Usually due to an incompatible dimmer or poor-quality power supply. Use an LED-compatible driver and ensure it’s not overloaded (max 80% capacity).
How long do home LED light strips last?
Quality strips last 25,000–50,000 hours (per IES LM-79 testing). That’s 10–20 years at 6 hours/day. Cheap ones may fail in under 2 years.
Conclusion
Home LED light strips are more than just a trend—they’re a smart, stylish, and sustainable lighting upgrade when done right. Focus on high CRI, proper IP ratings, and aluminum channels. Avoid bargain-bin traps, prioritize safety, and always test before committing. Whether you’re illuminating a bookshelf, softening a staircase, or building the ultimate media den, the right strips will make your space feel intentional, inviting, and undeniably yours.
Like a Tamagotchi, your lighting setup needs daily care—but with these tips, it’ll thrive for years.
Haiku break:
Warm glow on the wall,
No more shadows in the hall—
LEDs save all.