You spent hours picking the perfect paint, hunted down artisanal hardware—but your lighting still feels flat. Harsh overheads. Cold corners. Zero ambiance. It’s not your taste. It’s the wrong approach. LED strip lights for house installations shouldn’t be an afterthought—they’re the secret weapon of designers who know how light sculpts mood, space, and perception.
Why Most DIY LED Strip Projects End Up Looking Cheap
People slap on strips, plug them in, and wonder why their “luxury” kitchen looks like a discount electronics booth. The issue? They treat LED strips like tape—not tools. Voltage drop over long runs turns warm white into sickly yellow halfway down the cabinet. Poor adhesive fails in humid bathrooms. And 90% use RGB kits when they actually need tunable white—because mood isn’t about neon purple at 7 a.m.
Here’s the reality: LED strip lights for house use succeed only when you respect three hidden variables—thermal load, color consistency (CRI >90 matters), and driver placement. Skip these, and you’re just decorating with disappointment.
How to Install LED Strip Lights for House Like a Pro
Forget YouTube hacks. This is the method lighting contractors actually use—scaled for homeowners.
Plan Zones, Not Just Lengths
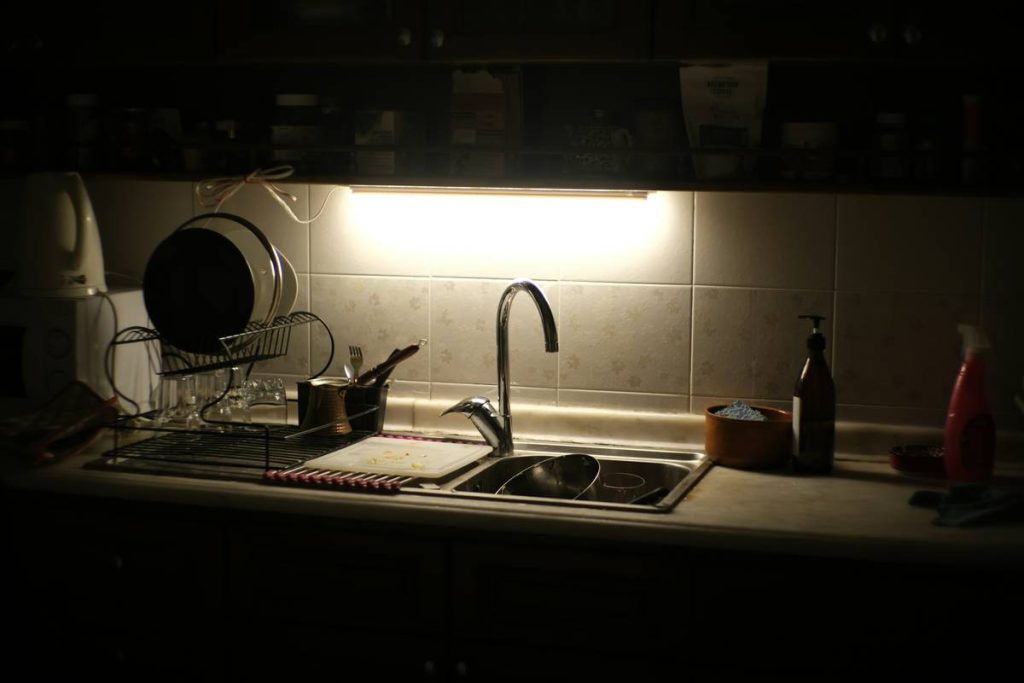
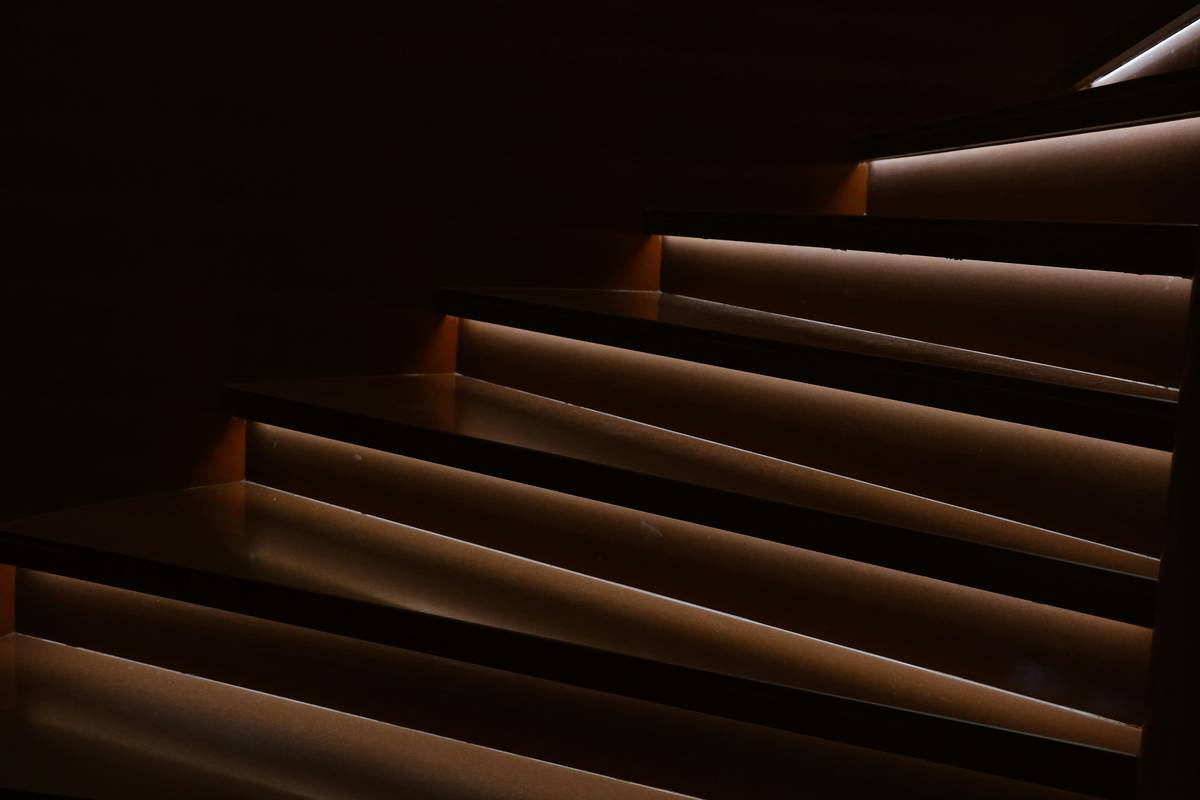
Divide your space into lighting zones: under-cabinet task areas, cove ambient layers, stair risers for safety. Each zone needs independent control. Running one 20-foot run from a single power supply? Bad idea. Voltage drop will dim the far end by 30%.
Choose the Right Strip Type
Not all strips are equal. For kitchens and bathrooms, go IP65 minimum. Living rooms? High-CRI (90+) 2700K–3000K strips create that “sun-drenched cafe” glow. Avoid ultra-bright 6000K—it’s clinical, not cozy.
Hide the Hardware, Not Just the Strip
Use aluminum channels—they diffuse hotspots, dissipate heat, and make cheap strips look premium. Mount inside cabinets, behind valances, or recessed into toe-kicks. If you see the diodes, you’ve lost.
| Installation Method | Cost Range | Best For | Pitfall to Avoid |
|---|---|---|---|
| Direct adhesive mount (no channel) | $15–$25 per 16.4 ft | Dry, low-heat areas (back of headboards) | Fails in humidity; diodes visible |
| Aluminum channel + diffuser | $35–$60 per 16.4 ft | Kitchens, coves, stairs—anywhere visible | Skipping thermal management = early burnout |
| Hardwired with dimmer + transformer | $80–$150+ per zone | Whole-home integration, smart systems | Overloading circuits—always calculate wattage first |
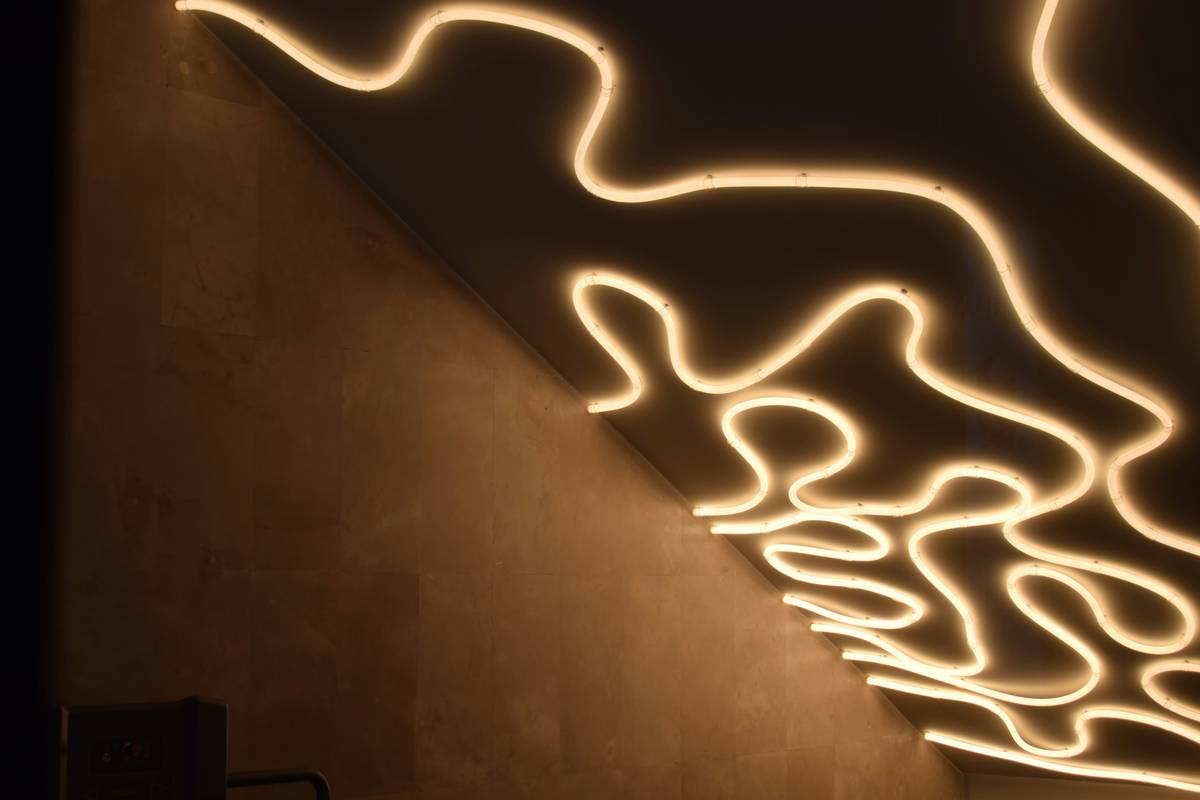
The Industry Secret No One Talks About: Power Feed Strategy
Most tutorials tell you to “just connect it.” Pros do something different: they inject power every 8–10 feet on high-density strips (120 LEDs/m). Why? Because even 24V systems suffer voltage sag over distance—and it shows as a gradient of dimness. But here’s the real hack: run parallel power taps from a central bus wire instead of daisy-chaining. It’s slightly more wiring upfront, but guarantees uniform brightness from start to finish. Contractors hide this bus in wall cavities or under floors during remodels. For retrofits? Run it discreetly behind baseboards. The math is simple: consistent voltage = consistent experience.
And don’t skimp on the driver. A 60W strip needs a 75W driver—running at 80% capacity prevents overheating and extends lifespan by 2x.
FAQ: Real Questions Homeowners Actually Ask
Can I cut LED strip lights anywhere?
No. Only at marked cut lines—usually every 2–4 inches. Cutting elsewhere kills the circuit. Always check the copper pads.
Do LED strip lights increase electricity bills?
Unlikely. A 16.4-ft strip uses ~24W—less than a single incandescent bulb. Run it 6 hours nightly? That’s ~$1.50/month.
Are waterproof strips safe for indoor use?
Absolutely. IP65/IP67 strips work indoors—especially in steamy bathrooms. The silicone coating just adds durability; it doesn’t alter light quality.