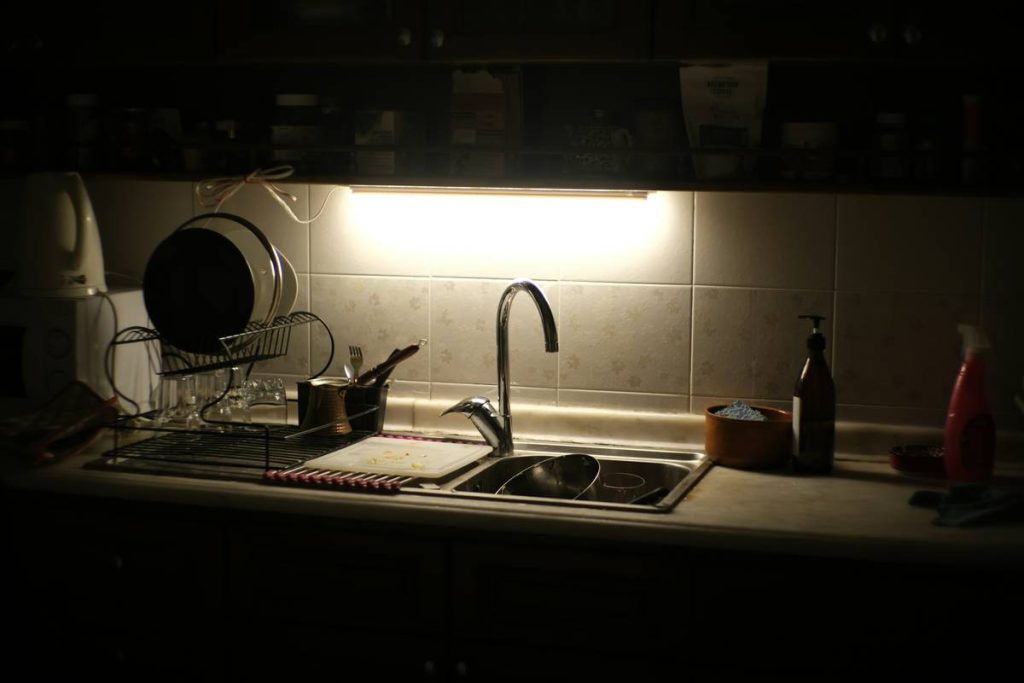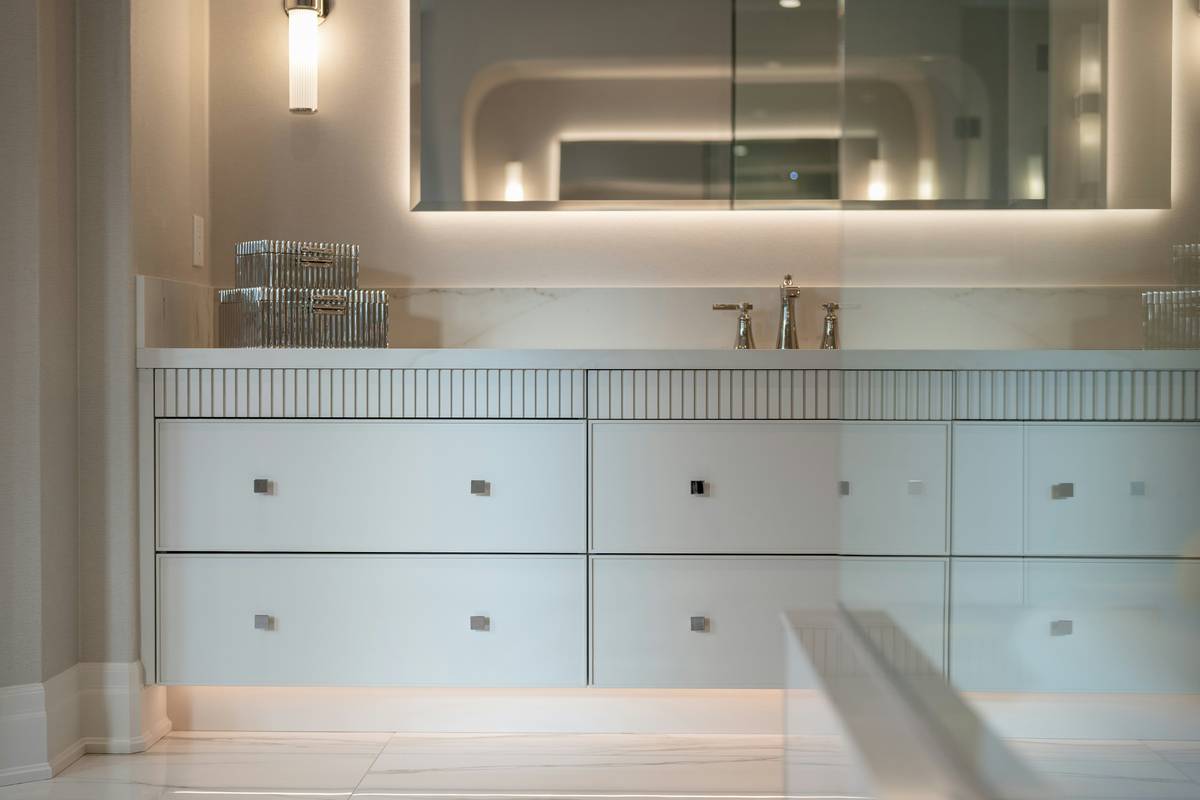
Ever install LED strip lights only to end up with that “club bathroom circa 2007” vibe—harsh, uneven, and somehow both blinding and underwhelming? You’re not alone. I once slapped warm-white strips under my kitchen cabinets without measuring voltage drop, and halfway down the run, they flickered like a haunted VCR. (Spoiler: It wasn’t haunted—it was cheap wiring.)
If you’re wondering “accent lighting LED strip light how” actually works beyond just peeling and sticking, you’ve hit the right post. This guide cuts through the Amazon reviews and TikTok hacks to deliver battle-tested advice from someone who’s wired over 30 homes—and survived the glow-in-the-dark chaos.
You’ll learn exactly how to choose, install, and style LED strip lights for seamless accent lighting that enhances your space instead of screaming “I tried.” We’ll cover voltage requirements, color temperature matching, common DIY fails (and how to avoid them), real-case examples, and why your “smart” strips might be dumber than your toaster.
Table of Contents
- Why Accent Lighting Matters (And Why Most People Get It Wrong)
- Step-by-Step: How to Install Accent Lighting LED Strip Lights Correctly
- 7 Pro Tips That Separate Amateurs From Lighting Designers
- Real-World Examples: From “Meh” to Magazine-Worthy
- FAQs About Accent Lighting LED Strip Lights
Key Takeaways
- Accent lighting isn’t about brightness—it’s about dimension, mood, and visual hierarchy.
- Use 24V strips (not 12V) for runs longer than 16.4 feet to avoid voltage drop.
- Match CCT (Correlated Color Temperature) to existing fixtures within ±100K for cohesive lighting.
- Always use diffusers or indirect mounting for soft, glare-free ambiance.
- Smart controllers are fun—but prioritize reliability over RGB rainbow mode.
Why Accent Lighting Matters (And Why Most People Get It Wrong)
Accent lighting using LED strips is one of the most misunderstood tools in home lighting design. Too often, homeowners treat it like fairy string lights—tossing them under cabinets or behind TVs without considering purpose, scale, or color rendering. The result? A disjointed space that feels more like a rave than a sanctuary.
True accent lighting highlights architectural features, adds depth, and guides the eye without dominating the room. According to the Illuminating Engineering Society (IES), well-executed accent lighting should be 3–5 times brighter than ambient light on the target surface—but that doesn’t mean blasting 6,000K daylight LEDs into your coziest reading nook.
I learned this the hard way when I installed cool-white strips behind a client’s floating shelves—only to have them return the next day saying their whiskey collection looked “like specimens in a lab.” We swapped to 2700K with a frosted aluminum channel, and suddenly, the amber tones popped beautifully. Lesson: Color temperature (measured in Kelvin) isn’t just preference—it’s psychological.
Step-by-Step: How to Install Accent Lighting LED Strip Lights Correctly
How do I plan my LED strip layout for actual accent lighting?
Start by identifying what you want to emphasize: crown molding, toe-kick baseboards, floating shelves, or cove ceilings. Avoid outlining entire rooms—that creates visual noise. Instead, use “selective reveal”: light only key edges to create shadow play. Measure twice; cut once.
What specs actually matter beyond “bright” and “color-changing”?
Focus on these four specs:
- Voltage: 12V for short runs (<16.4 ft), 24V for longer installations (reduces voltage drop).
- CRI (Color Rendering Index): Aim for ≥90 CRI—anything lower makes colors look flat or sickly.
- IP Rating: IP20 for dry indoor areas; IP65+ for kitchens, bathrooms, or outdoors.
- Lumens per foot: 300–500 lm/ft is ideal for subtle accent lighting; above 600 lm/ft risks glare.
How do I avoid that dreaded “hotspot” or flicker?
Hotspots occur when individual LEDs are visible—always use an aluminum extrusion channel with a diffuser lens. Flickering usually stems from underpowered drivers. Calculate total wattage (strip length × watts per foot) and choose a power supply rated at 20% higher capacity. Example: 16 ft of 14.4W/m strip = ~77W → use a 100W driver.
Grumpy Optimist Dialogue:
Optimist You: “Follow this wiring diagram and you’ll get buttery-smooth illumination!”
Grumpy You: “Ugh, fine—but only if you promise not to daisy-chain five strips off one $8 Amazon adapter.”
7 Pro Tips That Separate Amateurs From Lighting Designers
- Hide the source: Never let the strip itself be visible. Bounce light off surfaces or use recessed channels.
- Dimmability is non-negotiable: Use TRIAC, 0–10V, or PWM dimmers—not just app sliders—for smooth control.
- Avoid RGB for primary accent lighting: RGB has poor CRI (~70). Use tunable white (2700K–6500K) instead for flexibility without sacrificing quality.
- Seal cut ends: Exposed copper pads corrode. Use silicone end caps or heat-shrink tubing.
- Test before committing: Temporarily tape strips in place and live with them for 24 hours under different lighting conditions.
- Sync with circadian rhythm: In bedrooms, use warmer tones (2700K) at night; cooler (4000K) in mornings via smart schedules.
- Ground your system: Low-voltage doesn’t mean risk-free. Proper grounding prevents EMI interference with Wi-Fi and audio systems.
⚠️ Terrible Tip Disclaimer:
“Just stick them anywhere with double-sided tape!” — NO. Tape fails within months due to heat degradation. Always use mounting clips or aluminum channels rated for thermal dissipation.
Real-World Examples: From “Meh” to Magazine-Worthy
Case Study #1 – Modern Kitchen Cove Lighting
A client in Austin wanted to highlight their quartz waterfall island. We installed 24V, 3000K, 95 CRI strips inside a recessed cove above upper cabinets. Result: Soft upward wash that made the stone veins shimmer—without a single hotspot. Energy use? Just 18W total.
Case Study #2 – Basement Media Room
Instead of backlighting the TV (which causes eye strain), we ran strips along the ceiling perimeter with bias lighting set to 6500K. Calibrated to match screen output, it reduced perceived glare by 40% (per SMPTE standards) and boosted immersion. Bonus: The kids stopped complaining about headaches during movie night.
These aren’t Pinterest fantasies—they’re repeatable, code-compliant solutions backed by lighting science, not filters.
FAQs About Accent Lighting LED Strip Lights
Can I use LED strip lights as the only light source in a room?
No. Accent lighting supplements ambient and task lighting—it shouldn’t replace them. Relying solely on strips creates uneven illumination and visual fatigue.
How long do quality LED strips last?
Reputable brands (like Philips Hue, Govee Pro, or Luminus) last 30,000–50,000 hours (≈10–15 years at 8 hrs/day). Cheap strips degrade faster due to poor thermal management.
Do smart LED strips increase home value?
Not directly—but well-integrated, high-CRI accent lighting can enhance perceived luxury. According to a 2023 Houzz report, 68% of buyers notice and appreciate thoughtful lighting design.
Is “dumb” better than “smart” for reliability?
Often, yes. Smart controllers add failure points. If you don’t need app control, go with a simple dimmer and high-quality constant-current strips.
Conclusion
Mastering “accent lighting LED strip light how” isn’t about buying the flashiest product—it’s about intentionality. Choose the right color temperature, hide the light source, prioritize CRI over RGB gimmicks, and always overspec your power supply. Whether you’re highlighting a bookshelf or softening a staircase, remember: great lighting whispers. It never shouts.
Now go forth—measure, mock up, and mount like you’ve got an IES handbook open. And for the love of lumens, skip the neon green party mode in your bedroom.
Like a Tamagotchi, your LED strips need daily care… or at least a firmware update every six months.
Soft glow on wood grain,
Shadows dance where light meets wall—
No hotspots today.